View allAerospaceArchiveARES G2 AccessoriesARES RheometerAutomated Density TesterAutomated Hardness TesterAutomotiveBasic CharacterizationBendingBioDynamic InstrumentsBiomaterials and TissuesBiomaterials and TissuesBiopharmaceuticalsBiosensorsBlogBone CementCardiovascularCardiovascular (Tissue Engineering)cardiovascular instrumentsCardiovascular Medical DevicesCell Biology and Cell-BiomaterialChewing Simulator for WearCleanroomComponent Fatigue (rubber)Components (Electronics)Components (Polymers)CreepDental ImplantsDental Implants and MaterialsDental MaterialsDHR AccessoriesDifferential Scanning CalorimetersDifferential Scanning CalorimetryDIL 830 SeriesDilatometersDilatometry videosDilatometryDiscovery Hybrid RheometersDrug DeliveryDynamic Mechanical Analysis (DMA)Dynamic Mechanical Analyzers (DMA)Dynamic Mechanical Analyzers (Rheology)Dynamic Mechanical Analyzers (Thermal Analysis)ElectroForceElectroforceElectroforceElectronicsEnvironmentalEyeFatigue and DurabilityFlash Diffusivity SystemsFracture FixationFracture MechanicsGeneral Biomaterials CharacterizationGeneral Scaffold CharacterizationGeneralGuarded heat flow meterGuarded Hot PlateHeart Valve Durability TestingHeating MicroscopesHorizontal DilatometersHot/ColdIndentationInsulation & Building MaterialsISOIsothermal CalorimetryIsothermal Titration CalorimetryJoint ReplacementsLaser FlashLoad frame systemsMaterial CharacterizationMaterials TestingMaterials Testing (Electronics)Materials Testing (Polymers)Materials Testing (rubber)Medical Device TestingMedicalMetalsMicrocalorimetry videosMicrocalorimetryMicrocalorimetryMicrocalorimetryMooney ViscometerMoving Die RheometerMulti-specimen Fatigue LifeMulti-specimen TestingMultiaxial TestingNeuromodulationNews & InfoOptical DilatometersOptical FleximeterOrthopaedic and MusculoskeletalOrthopaedic and MusculoskeletalOrthopaedic Devices and NeuromodulationOther TissuesOther Tissues and OrgansPharmaceuticalsPill TestingPolymers, Plastics and CompositesProduct videosProductsPromotionsPulsatileQuenching DilatometersQuick start guidesRegenerative MedicineResearch and Design ValidationResearch (rubber)Rheology videosRheologyRheologyRheology AccessoryRotational ViscometerRubberRubber AccessoriesRubber Process AnalyzersRubberRubber TestingSaline BathsScaffold BiodegradationService VideosShearSimultaneous Thermal AnalyzerSkin and Other OrgansspineStent Durability TestingSterileStress RelaxationTech TipsTension/CompressionTestbench and Planar Biaxial systemsThermal Analysis videosThermal AnalysisThermal ApplicationsThermal Conductivity MeterThermal ConductivityThermogravimetric AnalysisThermomechanical AnalyzersTire & rubberTissue EngineeringTissue EngineeringTissue/Organ BathsTorsionTrade shows and eventsUncategorizedVapor Sorption AnalysisVertical DilatometersVideosDilatometryWebinarsMicrocalorimetryRheologyRubberThermal AnalysisXenon Flash

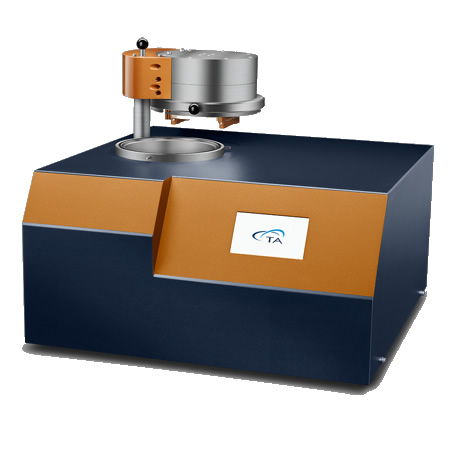
ODP 868 Optical Dilatomery Platform

Result of over twenty years of R&D of optical instruments for the study of the thermo-mechanical behavior of materials, ODP 868 makes possible the analysis of samples beyond the limits of classical heating microscopy. Its versatility makes of ODP 868 the most innovative tool for production and R&D laboratories for the optimization of all the industrial processes that involve thermal cycles.

The Heating Microscope mode uses a 5Mpix high resolution camera to study the physical behavior of the materials during the industrial firing cycles.

Details
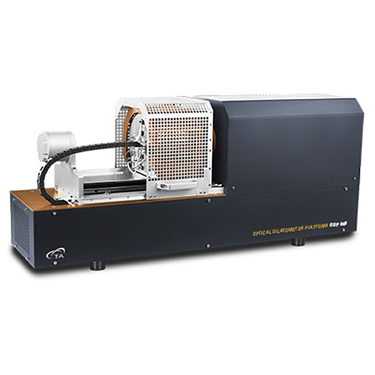
DIL 806 Optical Dilatometer

This optical dilatometric measurement method used in DIL 806 is an absolute process, entirely independent of any possible expansion or contraction of the instrument. Consequently, measured results do not need to be corrected or calibrated for different temperature programs. Coupled with the fast response of the DIL806 furnace, this makes the system particular well-suited for the analysis of dynamic processes that involve multiple temperature steps and dynamic heating rates.

Details

DIL 820 HT HiTemp Vertical Dilatometers

The 820HT Series operates up to high temperatures in a vertical orientation , making it uniquely set up for the analysis of sintering, studies in Rate Controlled Sintering (RCS) mode and the determination of dilatometric parameters of samples otherwise Impossible to be correctly analyzed on classic dilatometers with horizontal design.

Available in two different models (DIL 821HT and DIL 822HT), both the units feature the new optical encoder with 1nm resolution. That when combined with the True Differential of the DIL822HT, the result is simply the best possible sensitivity and CTE accuracy in the high temperatures segment.

Details

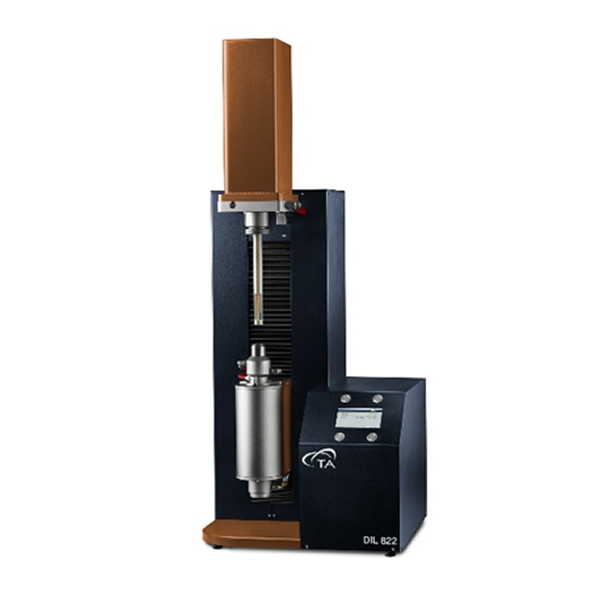
DIL 820 Series Vertical Dilatometers

The 820 Series operate in a vertical orientation, making it uniquely set up for the analysis of sintering, studies in Rate Controlled Sintering (RCS) mode and the determination of dilatometric parameters of samples otherwise difficult to be analyzed on classic dilatometers with horizontal design.

Available in two different models (DIL 821 and DIL 822), both the units feature the new optical encoder with 1nm resolution. That when combined with the True Differential of the DIL822, the result is simply the best possible sensitivity and CTE accuracy on the market.

Details

DIL 803 Dual Sample Dilatometer

To maximize sample throughput, DIL 803 and DIL 803L offers two-samples simultaneous operation. DIL803 and DIL 803L can also be operated with an inert reference sample for quasi-differential measurement, reducing the influence of measurement system expansion and increasing measurement accuracy under dynamic temperature conditions. The DIL 803 is designed for measurements under vacuum or inert gas while the DIL 803L is designed for measurements under air, making the DIL 803L ideally suited to measuring ceramic materials

Details

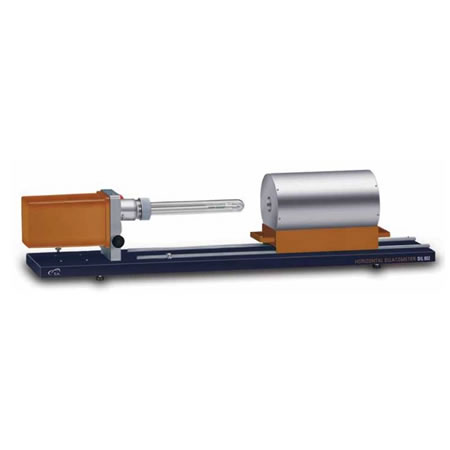
DIL 802 True Differential Dilatometer

For highest measurement accuracy, DIL 802 and DIL 802L provides a truly differential measurement. Measuring only the difference between the sample and the reference specimen, the True Differential design negates the influence of measurement system expansion on the sample measurement. This measurement design is of particular benefit for dynamic temperature programs such as those employed in Rate-Controlled-Sintering (RCS) and for measurements at lower temperatures. The DIL 802 is designed for measurements under vacuum or inert gas while the DIL 802L is designed for measurements under air.

Details

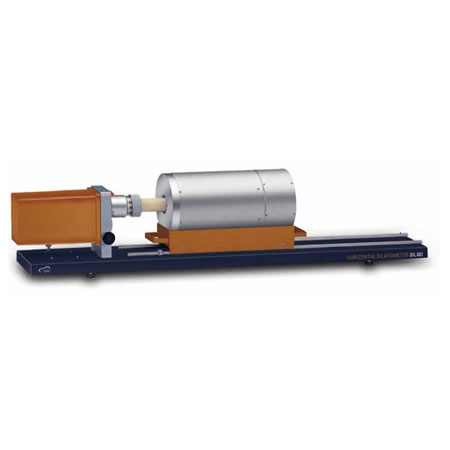
DIL 801 Single Sample Dilatometer

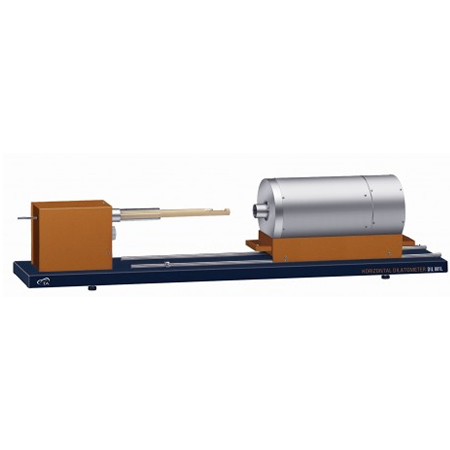
Suitable for a wide range of routine dilatometric tests, the DIL 801 and DIL 801L are horizontally configured single-sample dilatometers. The DIL 801 is designed for measurements under vacuum or inert gas while the DIL 801L is designed for measurements in air, making the DIL 801L ideally suited to measuring ceramic materials which are often processed in air.

Without a doubt DIL 801 and DIL 801L represent today the the dilatometers with the best price / performance ratio on the market

Details

DLF 1200

The Discovery Laser Flash DLF 1200 employs a custom Class 1 Nd:Glass Laser pulse source to provide a collimated, monochromatic energy pulse with a 300 μs to 400 μs pulse width. Ideal for labs that need to measure thermal diffusivity, heat capacity or thermal conductivity at temperatures up to 1200°C, or require the power of a laser in a compact benchtop instrument.

Equipped with a liquid nitrogen-cooled IR detector, DLF 1200 provides high precision, quick response, non-contact measurements in air, inert gas or vacuum to 10-3 torr. Simple to operate and safe to use, easy to maintain and very economical to operate, these systems are suitable for research and development programs, as well as quality control.

Details

DXF 900

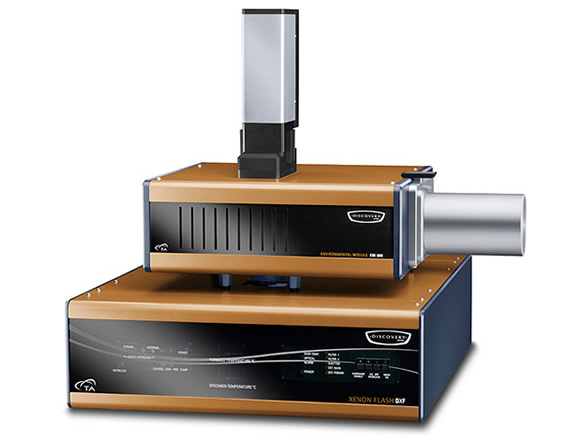
The Discovery Xenon Flash (DXF) source module employs a High Speed Xenon-pulse Delivery source (HSXD) which has considerably higher efficiency, lower costs and less maintenance than equivalent systems. A reflective optic configuration of our design effectively harnesses the power of a Xenon flash tube and, with the aid of proprietary wave guides, delivers it to the specimen inside the Environmental Module. DXF 900 produces a pulse width of 400 μs to 600 μs and uniformly concentrates the power from the flash source directly on the entire face of the specimen. Due to this optimized optical arrangement and the broad light spectrum, specimens as large as 25 mm in diameter can be illuminated with sufficient energy to make a high-accuracy measurement. The use of large samples diminishes errors associated with inhomogeneity and permits representative measurements of poorly dispersed composites.

Details

Tuber 100

The Tuber 100 instrument conforms to ASTM C335 and ISO 8497. The absolute method combined with a sophisticated end guard heater system makes of Tuber 100 the most advanced and easiest tool to test pipe insulation. Sample length is one meter long with diameters ranging from 12mm to 100mm+. Two standard probes, 15mm and 22mm, are available, different sizes can be provided upon request.

Conductivity range is 0.02W/mK – 0.08W/mK. Temperature range up to 80°C with temperature control of 0.01°C.

Details

FOX 1000

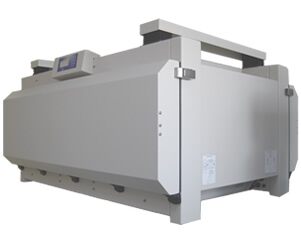
The FOX 1000 is a microprocessor-based thermal conductivity instrument specifically designed to accommodate large samples. For the testing of especially long sample, like for instance the large format vacuum insulation panels, the test chamber has front and back doors which allow to test specimens 1050 mm wide and as long as they are manufactured.

The instrument features proprietary thin film heat flux transducers, automatic digital thickness measurements, and responsive temperature control.

Details

Fox 600 GHP

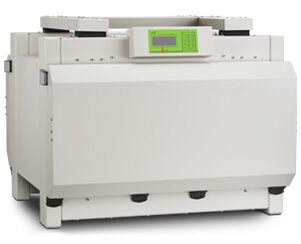
FOX 600 GHP is especially well-suited for thermal conductivity measurements at high temperatures, exhibiting unrivaled temperature and dimensional stability. Each of its components include state-of-art technology representing the best available today in advanced materials and electronics.

In a Guarded Hot Plate system a temperature difference (ΔT) is established across a sample of known thickness (L). The thermal conductivity is calculated from the temperature difference across the known thickness and the steady state power (W) per area (A) required to maintain the temperature difference. The Guarded Hot Plate uses a direct measurement of the electrical power supplied to the hot plate rather than heat flow meter signals from a Heat Flux Transducer.

Details